Deploy RADIUS in Windows Server 2012
In this guide we will show you how to deploy a Network Policy Server (RADIUS) in Windows Server 2012.
What is NPS?
NPS allows you to create access policies for connection request authentication/authorization and client health. It also allows you to create RADIUS proxy to forward requests to NPS or any other RADIUS server.
First, install NPS.
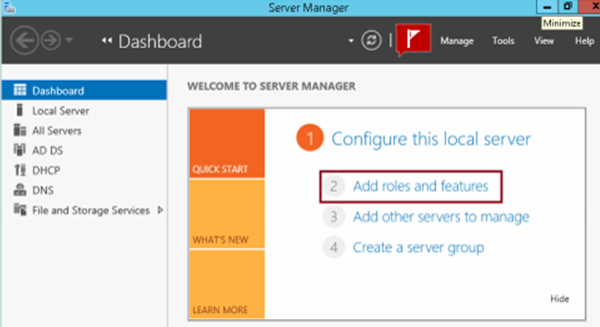
Step 1
On your Domain Server, open Server Manager, click Add roles and features…
Step 2
Select Role-based and click next…

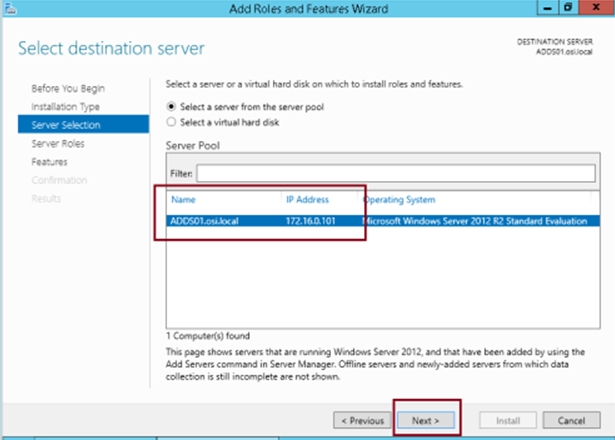
Step 3
Select the destination server and click Next…
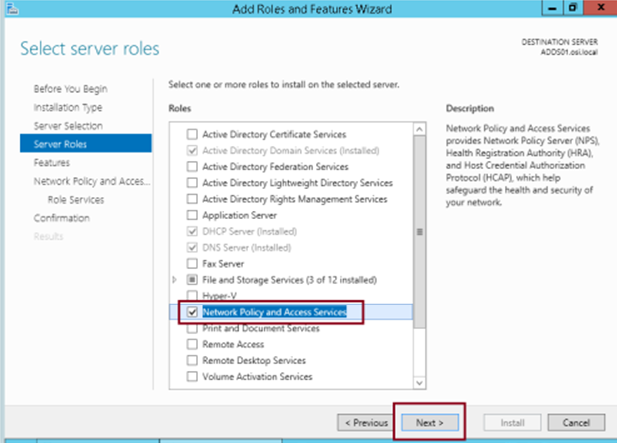
Step 4
Check Network Policy and Access Services and click Next…
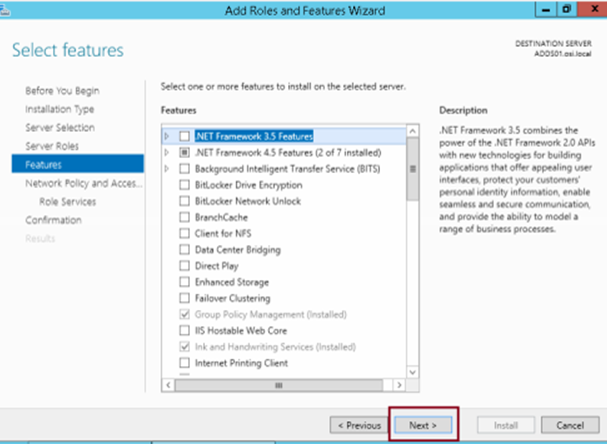
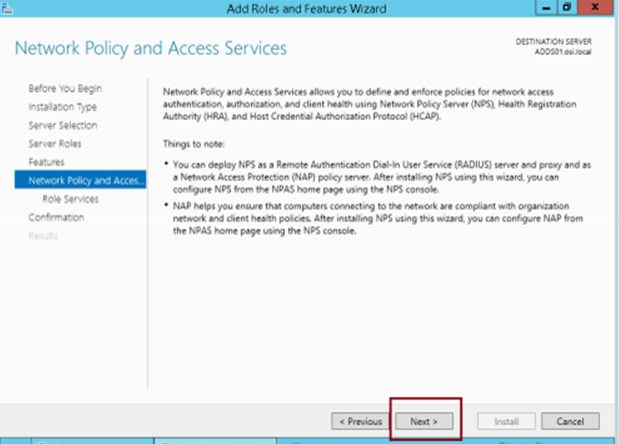
Step 5
Click Next…
Step 6
Click Next…
Step 7
Check Network Policy Server and click Next…

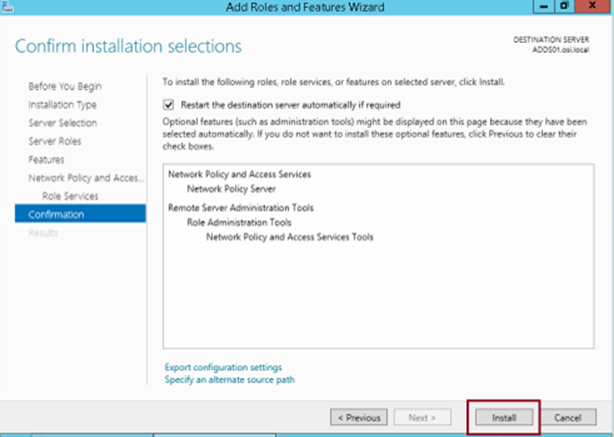
Step 8
Click Install…
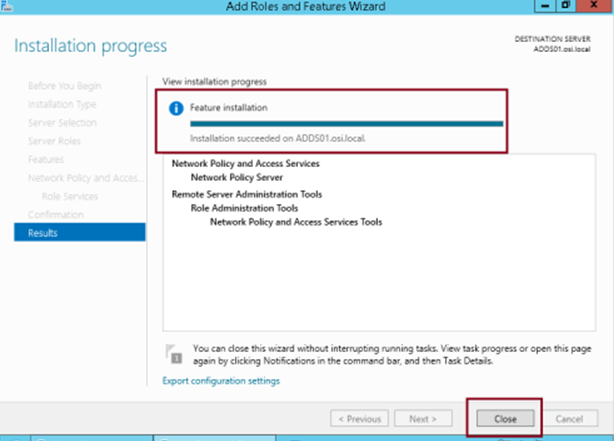
Step 9
Verify the install completes successfully and click Close…
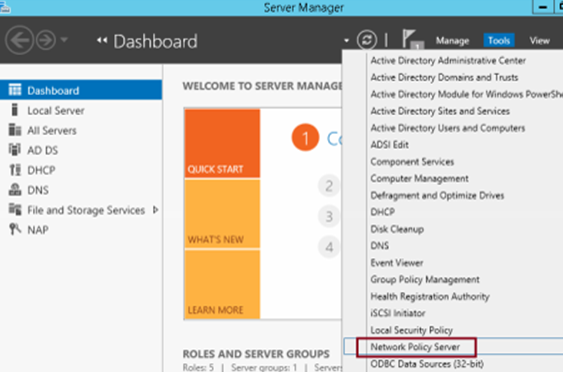
Step 10
On Server Manager, click Tools and then Click Network Policy Server…
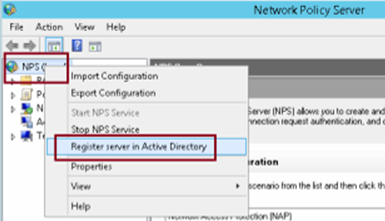
Step 11
In Network Policy Server, right click NPS (Local) and Click Register server in Active Directory…
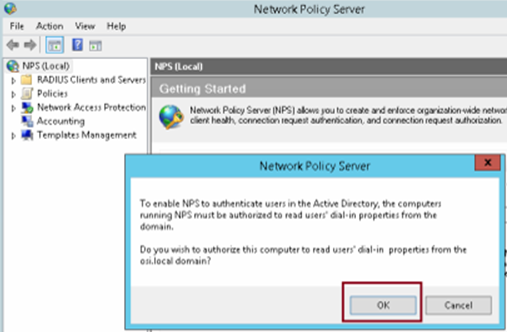
Step 12-13
Click Ok, and Ok again…

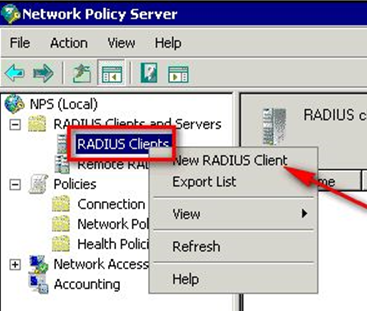
Step 14
Expand RADIUS Clients and Servers, Right Click on RADIUS Clients, and click New RADIUS Client…
Step 15
In this example we are configuring access from a Netscaler, so we enter AGEE VPX, the NSIP of the Netscaler (the client device IP), select RADIUS Standard, and enter a Shared Secret… Record the Shared Secret, you will need it whenever configuring a RADIUS Client. Click Ok when done to create the client.
Note: If you forget the Shared Secret, you can export the NPS configuration to text file to expose the password.

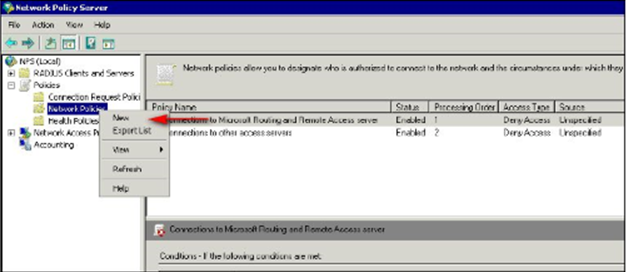
Step 16
Expand Policies, Right Click on Network Policies, and click New…
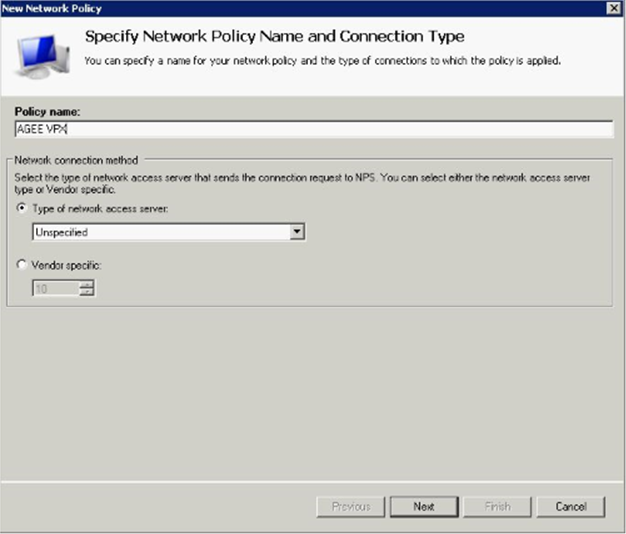
Step 17
Enter a Policy Name, and set the type of access server to Unspecified if using Netscaler or RCdevs OpenLDAP for OTP.
Step 18-19
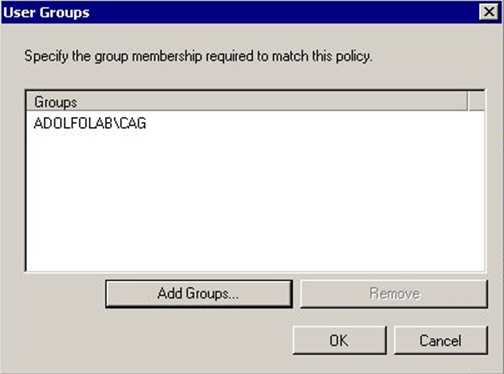
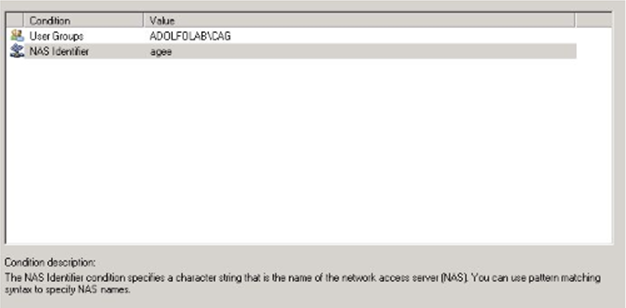
Under Specify Conditions, click Add. Select Windows Groups and hit Add. Click Add Groups to search and select which domain user groups should be allowed to authenticate to this RADIUS Policy. Click Ok when done.
Step 20-21
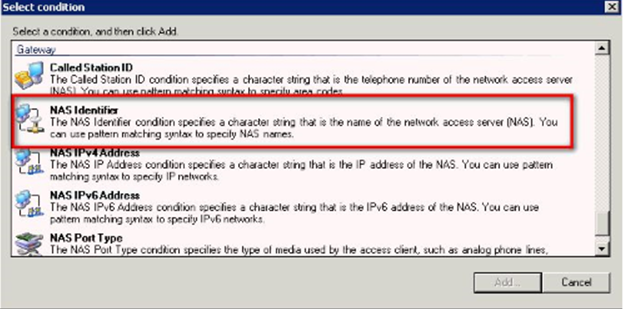
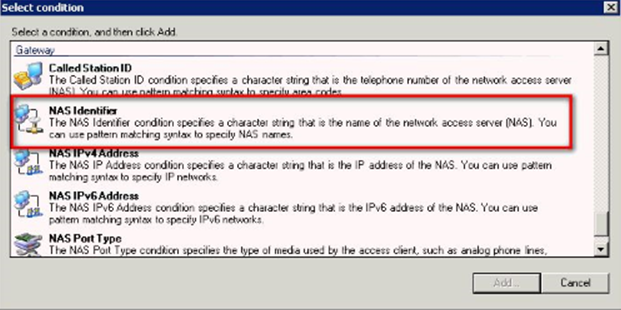
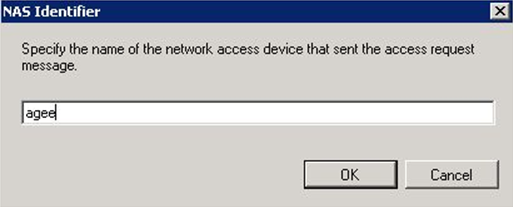
Optional: In Specify Conditions, Click Add, scroll down to NAS Identifier, click Add, and enter a NAS Identifier; this is whatever string of text you desire. When done adding conditions, click Next to continue.
Step 22
When done adding Conditions, click Next to continue…
Step 23
Select Access Granted to allow client connections.

Step 24
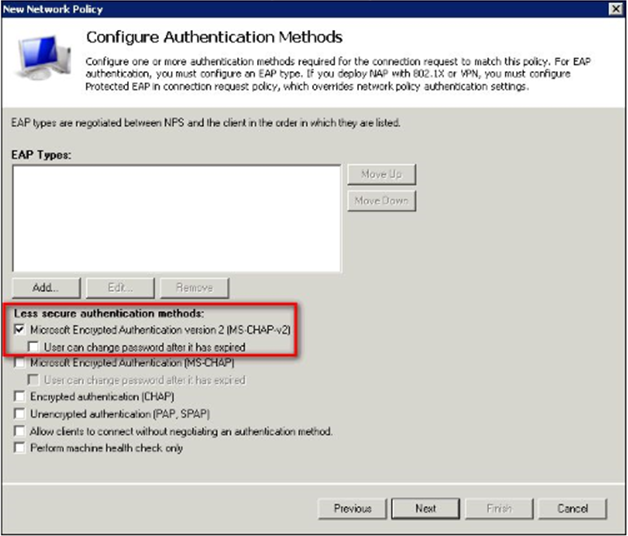
Select MS CHAP v2 for highest security…
Step 25
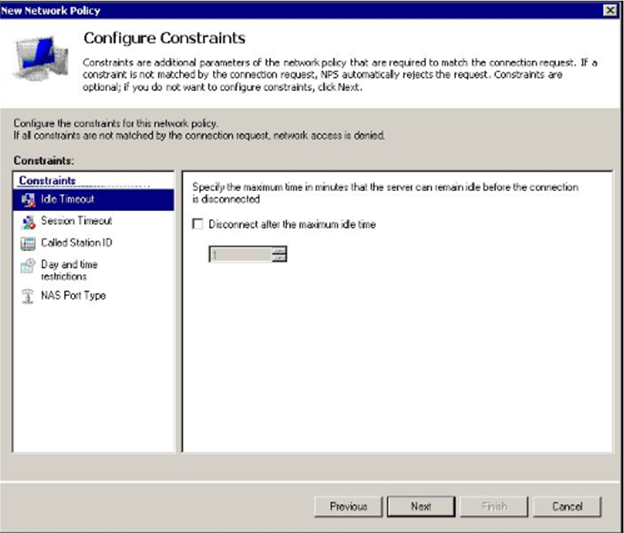
Click Next…
Step 26
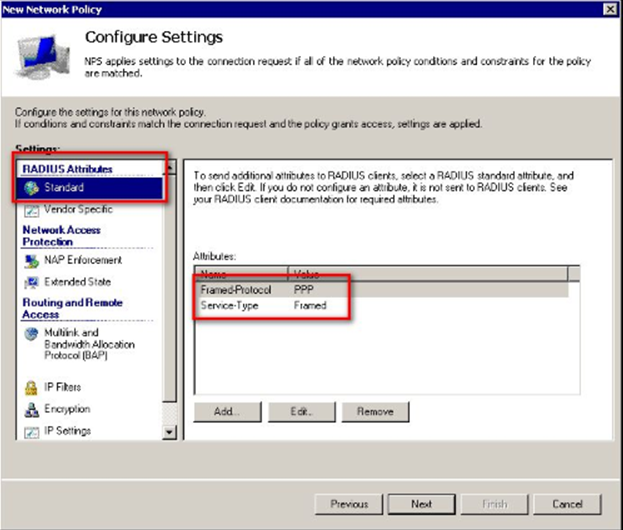
Under Configure Settings window, select RADIUS Attributes->Standard. Both Service Type Framed Protocol can be left as is or removed. I let them as is.
Step 27-28
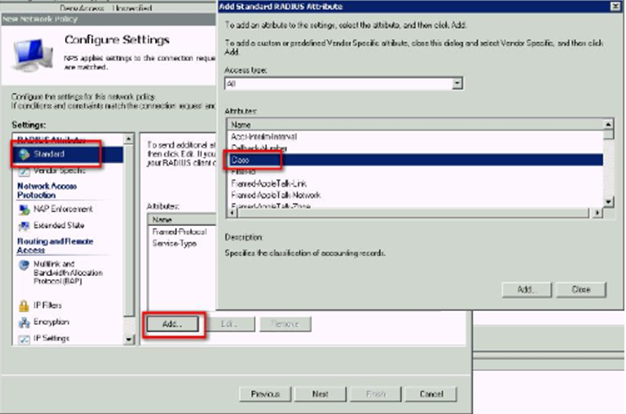
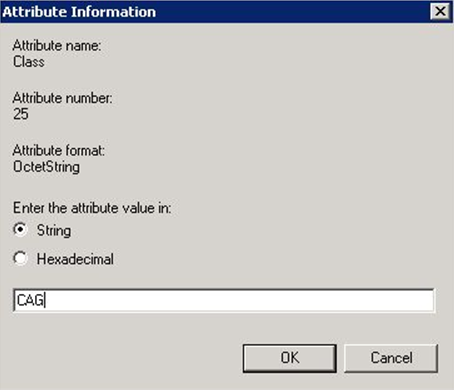
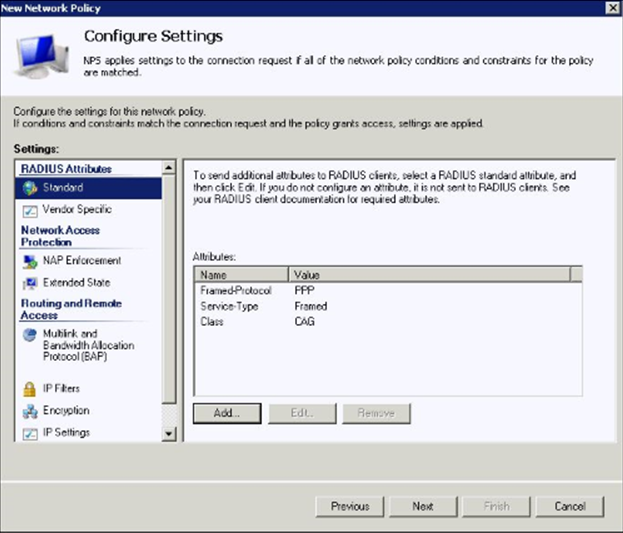
Under Configure Settings window, select RADIUS Attributes->Standard. Click Add. Select “Class” from the list. Enter a String value to restrict authentication to members of, in this example, a group named CAG on a Netscaler. This can be omitted if you prefer. I made it match the name of my allowed Windows Security Group once too. Click Ok when done entering the string.
Step 29
Click Next…
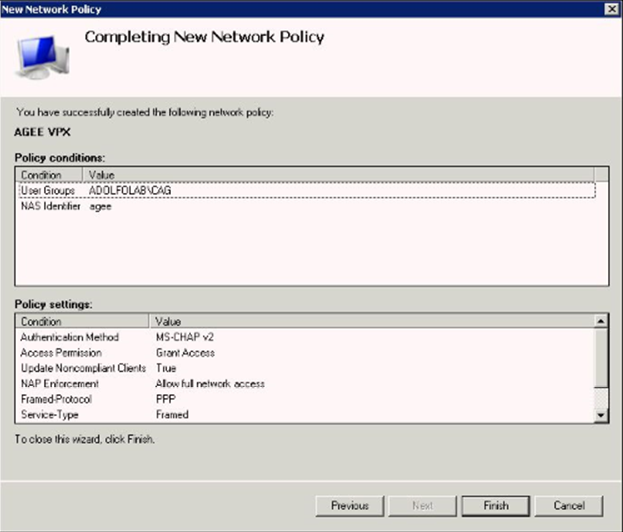
Step 30
Confirm your settings and Click Finish.
Step 31
Ensure under Processing Order, your new Network Policy has the appropriate Priority.

This RADIUS server is now ready for usage.