FreePBX – Setup Auto Attendant aka IVR and Record Audio
The first step to setting up an IVR is getting your recording. I’m going to assume you already have a script ready, know what prompts you want, and have some destinations setup. Also, if you are like me, you don’t want to use your own voice, and you don’t have to. You could ask a friend, or use Text to Speech. I’m going to use an online Text to Speech engine, and Audacity to record the audio. You can also use Audacity to record your MIC.
Most of the steps below are required whichever way you choose to generate the audio, due to the fact that FreePBX has specific requirements for the audio:
- Mono Track
- PCM Encoded 16bits
- 8000Hz (it actually works fine for my system at 44100Hz)
Note: Destinations can be numerous things like extensions, announcements, another IVR, or even a Miscellaneous Destination that is setup to dial an external number.
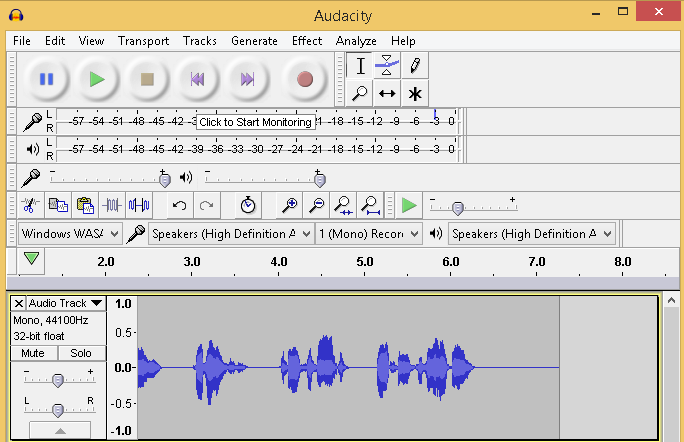
- If you do not have Audacity, download and install it. Once installed, open Audacity.
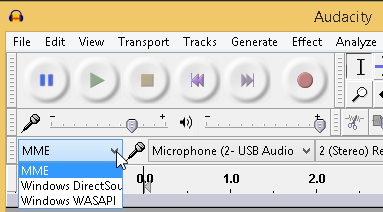
- We first need to adjust the Audio Host. This allows you to record audio being played to your speakers. Select Windows WASAPI.
Note if recording from Mic, likely the default MME will work for this setting.
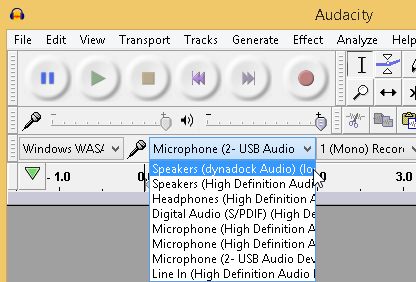
- Now Select your Recording Device. Select Speakers.
Note I have 2 Speakers listed. You may need to experiment to figure out which one is the correct one. I happen to know that the 2nd one is correct for me.
Note if recording your own audio using a Mic, you would instead choose the appropriate Microphone or Line In option. You may have more than one; I have 3 Mic and a 1 Line-In for a total of 4 options. The USB microphone I happen to know is part of my USB Webcam and works great for a Mic.
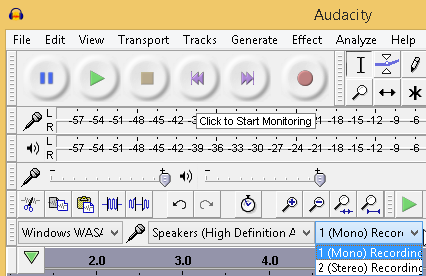
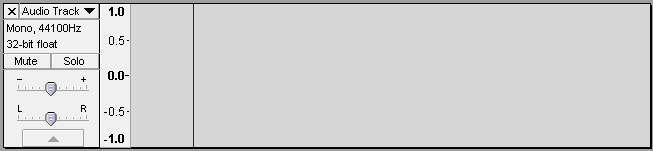
- Now select Mono as the Recording Channels.
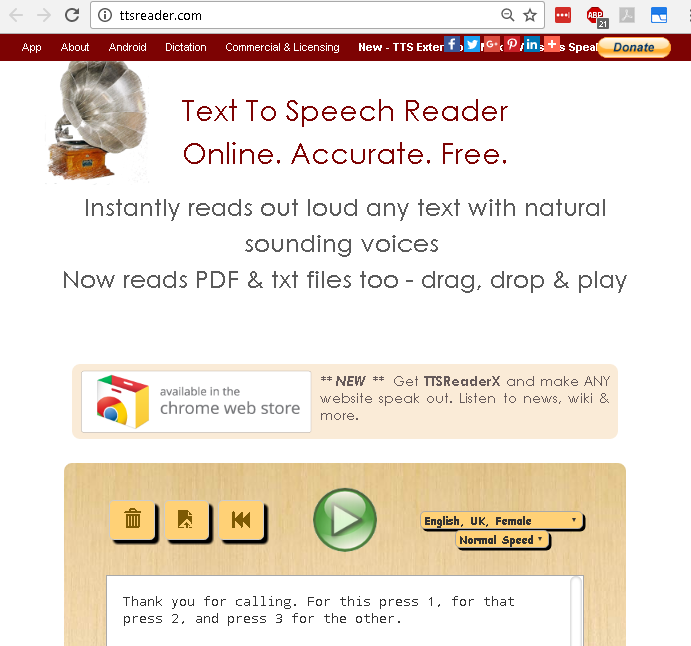
- In your browser, go to TTSReader or your choice of Text to Speach website. Type in your IVR prompt, select the voice you want, and play it to preview what it’s going to sound like.
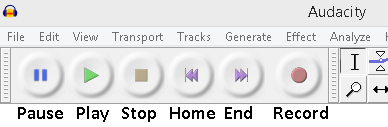
- Now in Audacity, click the Round Red Record button, and then quickly click the green Play button on the TTSReader site.
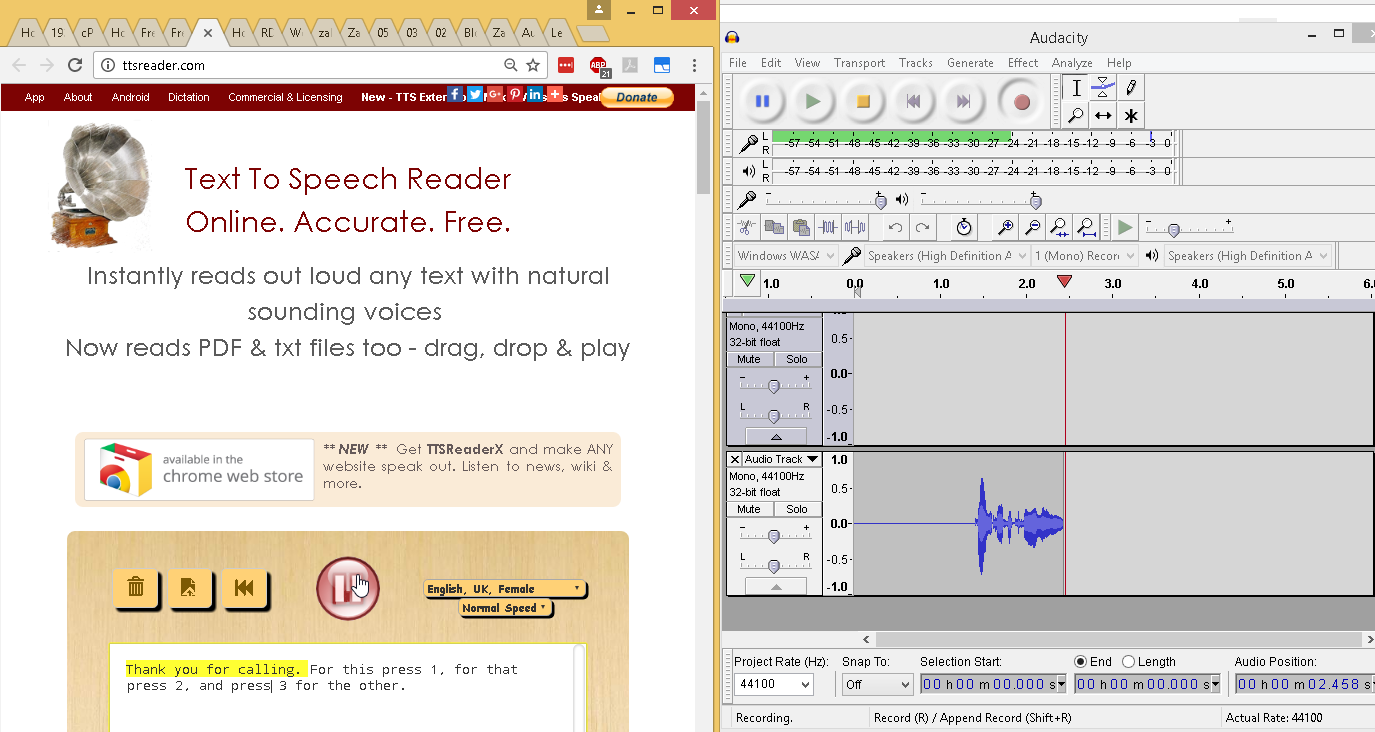
- Once the reading of the text has completed, click the Square Yellow Stop button in Audacity.
- If you messed up, just click the X in the upper left next to the Audio Track you just recorded and repeat the last few steps until you get it right.
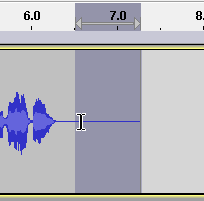
- If you get too much silence at the beginning or ending of the audio, simply use your mouse to click and drag across the silence. Then press the Delete key on your keyboard to remove it.
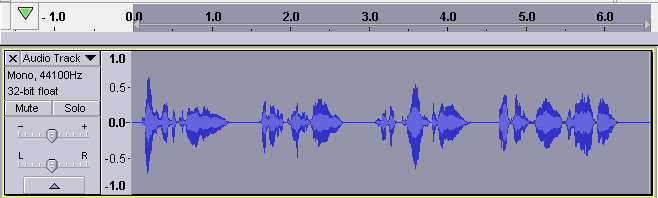
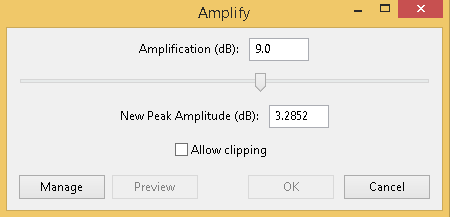
- If the audio seems too quiet, double-click the audio graph to select it all, then go to Effect->Amplify. It asks for amplification in decibels (dB). Note that adding 3 dB is considered doubling the sound. It may not allow you to continue unless you select Allow Clipping, however please note that clipping means it will distort the audio some.
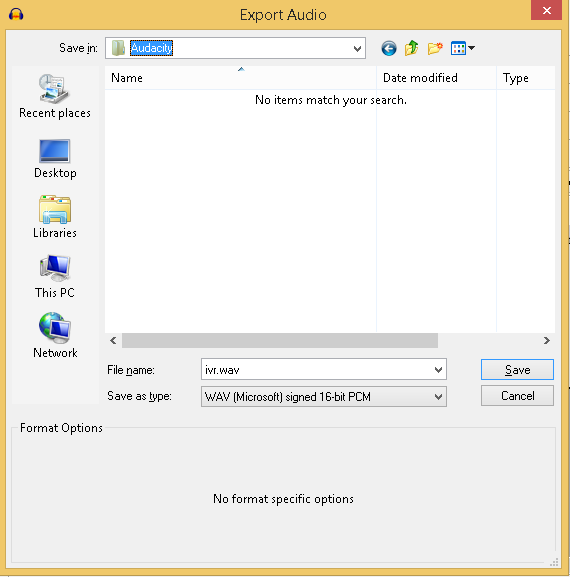
- Once satisfied, click File->Export Audio. Set the file type as WAV (Microsoft) signed 16-bit PCM, give the file a name, and save it.

- Now, in case you need to come back and modify the audio some more later, click File->Save Project as, click Ok on the warning, and give it a filename. This saves a project file with the audio in a raw format for future use in Audacity.
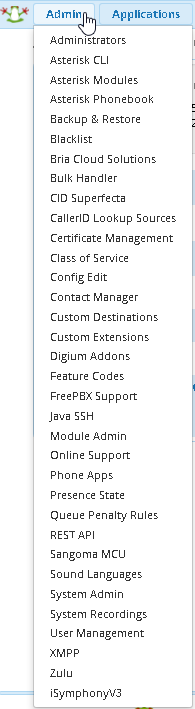
- In FreePBX, choose Admin->System Recordings.
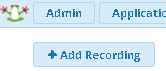
- Click Add Recording.
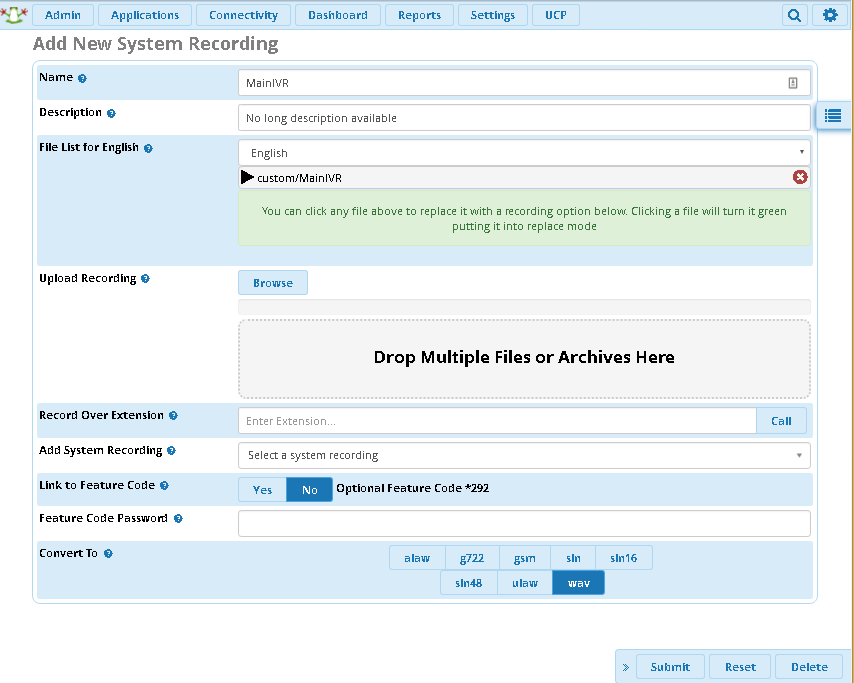
- Here you see where I already uploaded my recording.
- Name your recording
- Give it a Description if you like
- Browse for the WAV file you exported from Audacity
- In Convert To, make sure wav is selected
- Click Submit.
- Now in FreePBX, choose Applications->IVR.
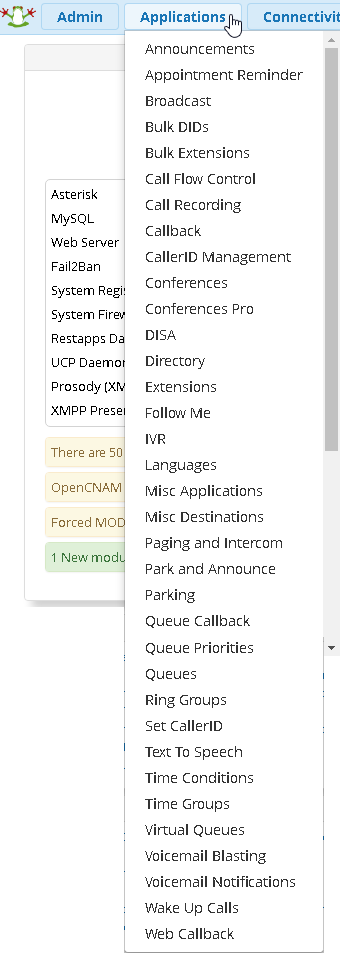
- Click Add IVR.
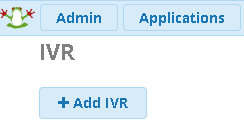
- Here we see my IVR that I’ve already created.
- Give the IVR a name.
- You may want to Disable Direct Dial, as this is a security risk for certain environments (think hotel room extensions and random callers ringing rooms asking for credit card info).
- Set your timeout, which is how long it waits for input before giving up.
- Set how many invalid entries you will accept and what recording to use when invalid entries are exceeded.
- Do the same for Timeouts where there was no input.
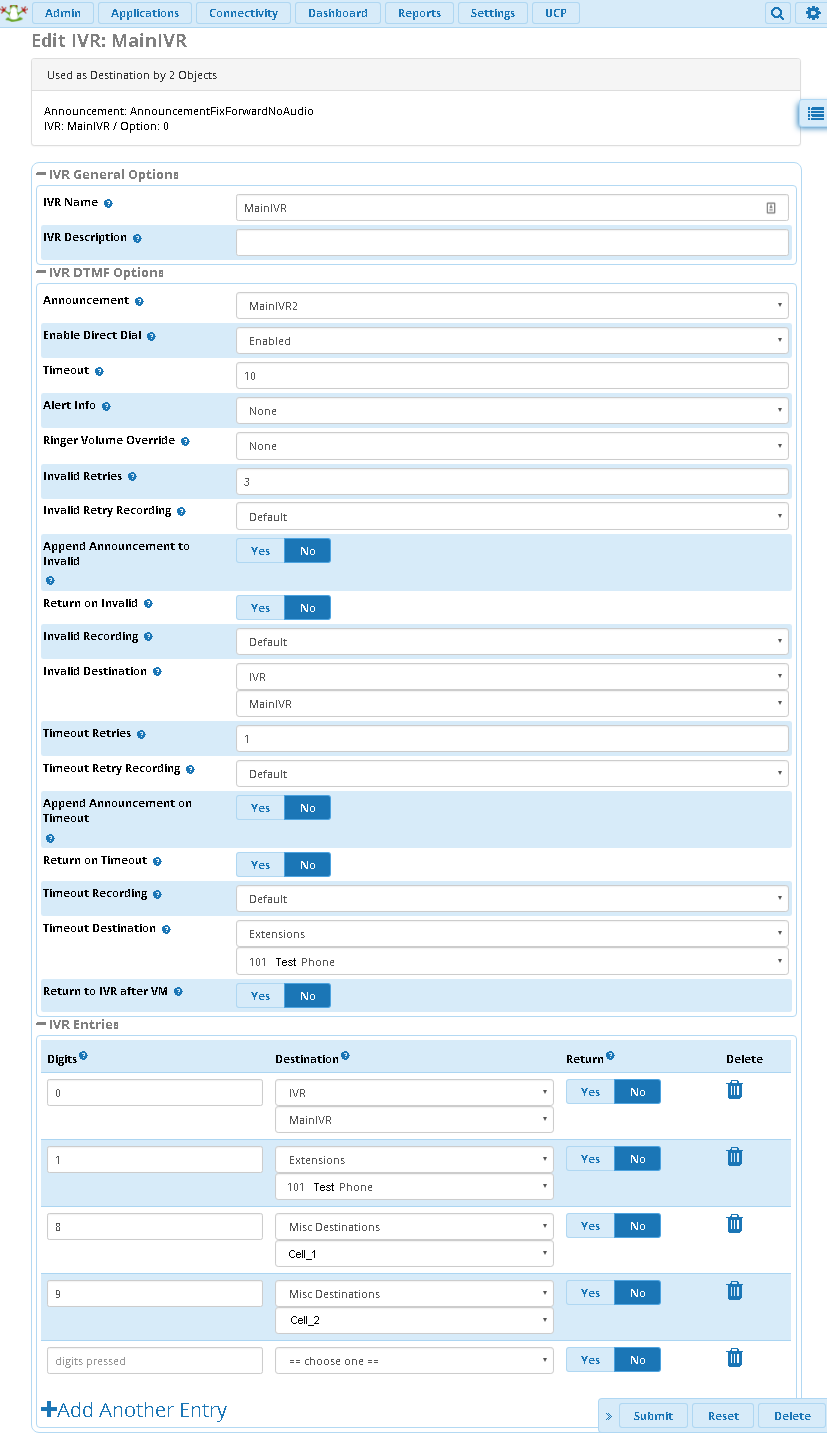
- Now scroll to the bottom. Here we setup the prompt buttons and their destinations. Note this step assumes you already have destinations setup to use. If you don’t, you can save and come back to edit it later.
Note the return option is good for Announcements. If you choose a destination of an announcement and set Return to Yes, it will come back to the IVR after completing the Announcement.- Enter the digit to press. I entered 0. Select a destination. I made this entry loop back to this same IVR.
- Click Add Another Entry
- Enter the next digit to press. I entered 1. I then selected an existing Extension.
- Click Add Another Entry
- Enter the next digit to press. I entered 8 and selected a Misc Destination which is a special number setup to forward to a cell.
- When done click Submit.
Now that you have an IVR, you need to set it to be used by something. It could be used by another IVR, an Inbound Route, etc. Most commonly you would setup an Inbound Route. That’s what we do in the next guide.