OPNsense – Transparent Caching Filtering Proxy with Virus Scanning – Step 3 OPNsense Caching Proxy
This is a pretty long guide, even before I added images, so it is broken it into sections. I hope it is easy to follow; if you find any errors, please Contact us!
Step 3 – Configure OPNsense Caching Proxy
We will first configure a standard proxy (where you have to specify the proxy port on your browser). This is the simplest kind of proxy. Once this is working, we will add components and services one step at a time. For this section, I used the guide here.
- Login to OPNsense.
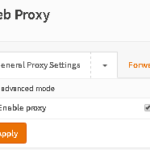
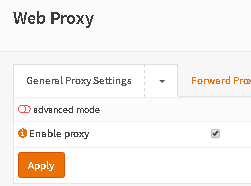
- Go to Services->Web Proxy->Administration. You should be at the General page for the Proxy.
- Check Enable Proxy. Click Apply.
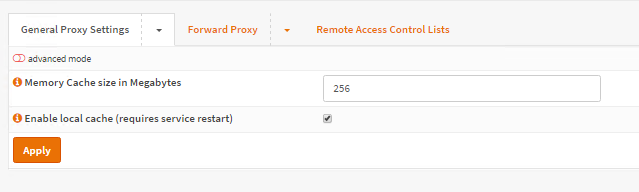
- Click the down arrow next to General Proxy Settings and click Local Cache Settings.
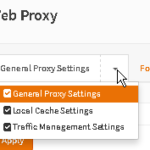
- Check Enable Local Cache and Click Apply.
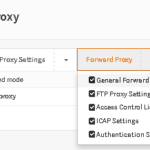
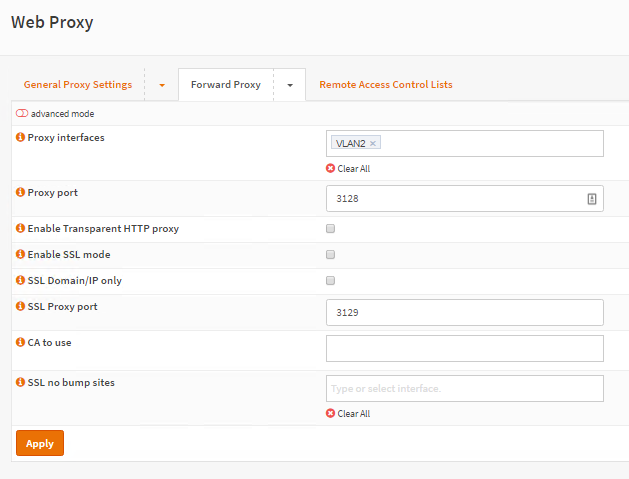
- Click Forward Proxy down arrow and click General Forward Settings.
- Type the Name of the Interface for the Subnet you will be filtering. Once done typing, hit Enter.
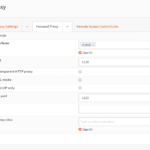
- Also note the proxy ports are set here. Lets keep the ports as is for now, I just wanted you to see where to set this.
- Click Apply.
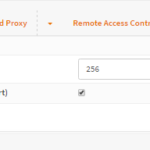
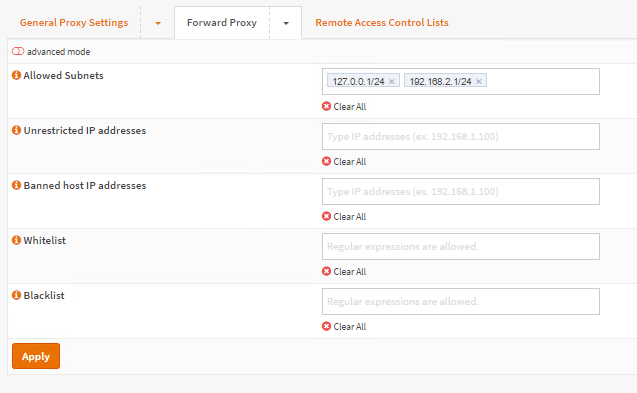
- Click Forward Proxy down arrow and click Access Control List.
- Enter the allowed subnets. The subnet I’m proxying is 192.168.2.0/24. I also entered 127.0.0.1/24 because I was having some issues with the proxy; not sure if this solved them or not but it’s working so I left it. Hit enter after entering each Subnet!
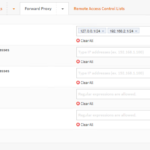
- Click Apply.
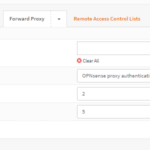
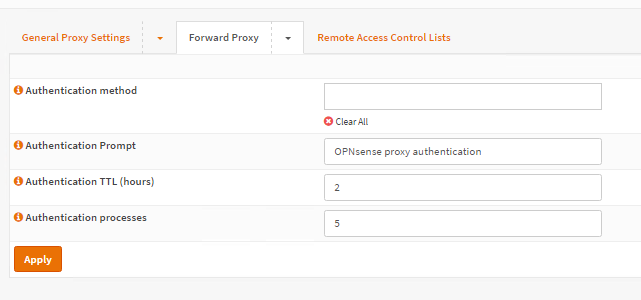
- Click Forward Proxy down arrow and click Authentication settings. Make sure nothing is entered in the Authentication Method box. Click Apply.
- Now go to Firewall->Rules. Add a new rule on the Interface the subnet to be proxied is on. In my case it’s VLAN2. This new rule should Allow traffic Source: ANY. Destination: the Interface Address, Destination Ports: 3128-3129 (assuming you left the ports as is in the above step), and check to Log traffic. Save the rule and Apply the changes.

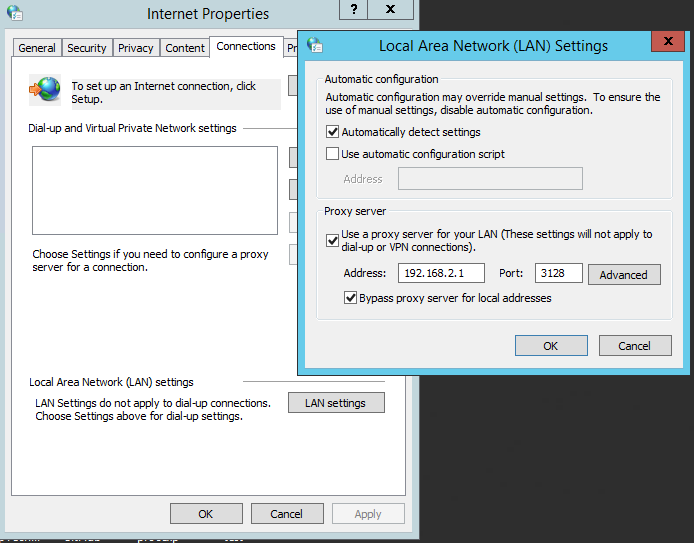
- Now test with a computer, and set the IE settings to use a proxy on port 3128 at the IP of the Firewall’s interface, in my case 192.168.2.1.
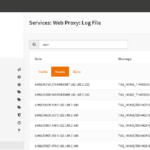
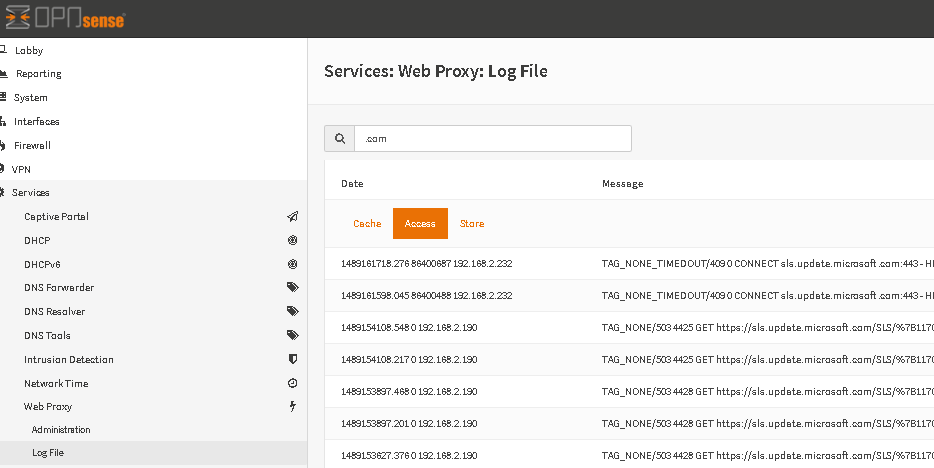
- You should see web traffic working in the browser. You should also see logs at Services->Web Proxy->Log File->Access.
- If you have trouble, go back to the last step of Step 2 and check logs and services. You can also check the firewall logs for blocked traffic to port 3128 or port 80.
- Once the proxy is working, if you want to block anyone not using the proxy, then add a new firewall rule below the one you created earlier. This rule should be Deny traffic, Source: Interface net, Destination Address: ANY, Dst Port: 80. You may also want to enable logging. Save and Apply the changes.
- NOTE: I also disabled the Anti-lockout rule as it seemed to interfere with the proxy.


This completes Step 3