OPNsense – Transparent Caching Filtering Proxy with Virus Scanning – Step 8 SSL Content Scanning
This is a pretty long guide, even before I added images, so it is broken it into sections. I hope it is easy to follow; if you find any errors, please Contact us!
Step 8 – OPTIONAL – SSL Content Scanning and Certificate Import
This makes the SSL scanning complete, however note it WILL cause FAR more problems with MANY SSL websites. You can refer to this guide for more info. Additionally you likely will want to set exceptions for all Banking Websites so they are not scanned.
Finally, an additional caveat: MANY sites, nearly all these days, use Content Provider sites. These will also be HTTPS and cause you great headaches trying to find a suitable middle between scanning the content and skipping the scanning because a site fails with the scanning. This is further exacerbated by the fact that OPNsense’s Proxy Exception options are very limited. You get into much more frustrating issues where the site begins requesting https://IPAddress/blahblah and not you have hundreds of IPs to start having to add to the no-bump list, which you can see when adding .bankofamerica.com to the SSL no bump list. You also start getting into issues because sometimes, and I’m not sure why this happens, you may not see requests to the domain that needs to be added to the no-bump. In my case, I found .bac-assets.com was needed for BankofAmerica home page to work properly. I didn’t have a login so didn’t test further, but likely there would be more sites to add. You likely would need to learn to use Fiddler with HTTPS to find all the URLs being used…
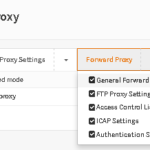
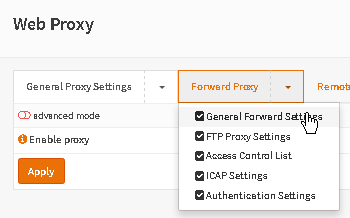
- In OPNsense, go to Services->Web Proxy->Administration, click the down arrow on Forward Proxy, and click General Forward Settings.
- UnCheck SSL Domain/IP only.
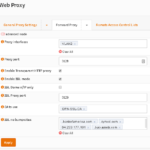
- Add sites to the SSL no bump sites list. Note that if you want to add an entire domain, add a period in front of it (example: .paypal.com). Add banking sites, and any additional sites you might not want scanned, also add the site’s corresponding content provider domains. You can find those domains by viewing the logs at Web Proxy->Log File->Access. Example below:
.bankofamerica.com .wellsfargo.com .paypal.com
NOTE: Hit enter after typing every domain so it creates a box around the name.
- Click Apply.
- You can test accessing an HTTPS site now, however you will notice that every HTTPS site you don’t add to the SSL no bump list comes up with an SSL error. You will need to add the certificate to your PC.
- To import the certificate, you first need to export it from the OPNsense box.
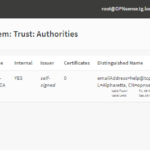
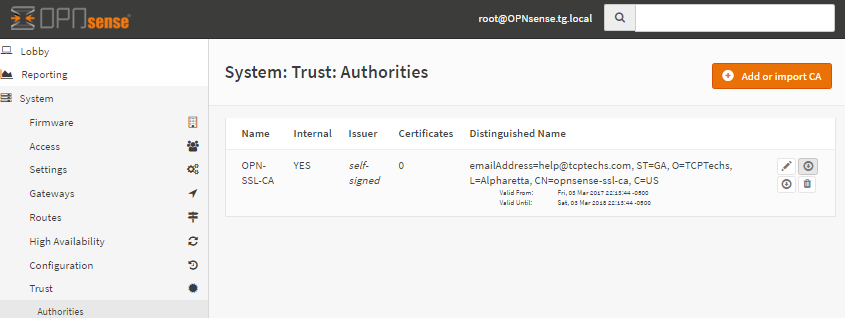
- In OPNsense, go to System->Trust->Authorities. Now Click the Export CA Cert button (hold your mouse over the button to view it) and save the Cert to your PC.
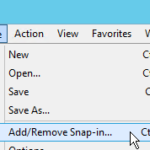
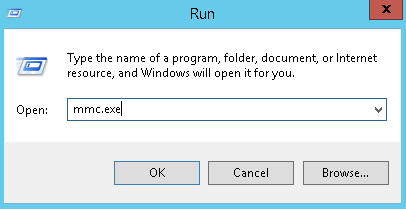
- On your Test PC, Open MMC.exe (Microsoft Management Console).

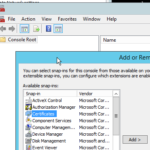
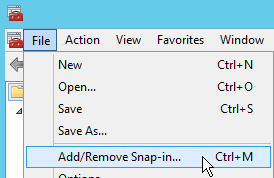
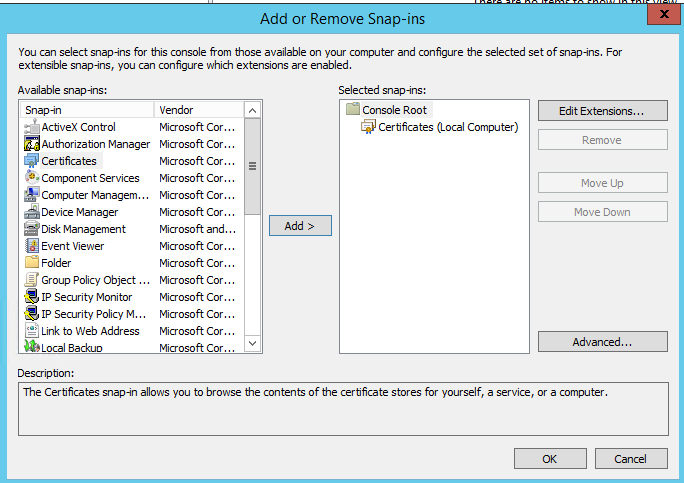
- Click File->Add/Remove Snapin
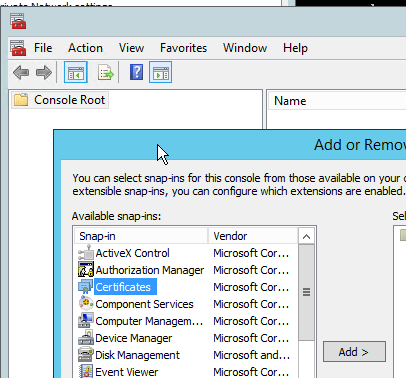
- Click Certificates on the left, and click Add.
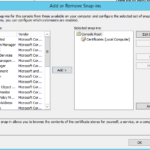
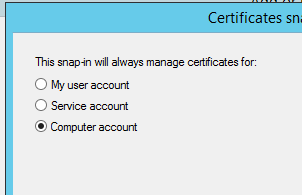
- Select Computer Accounts, and click Next.

- Select Local Computer, and click Finish.
- Click OK.
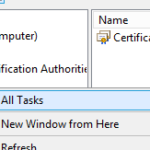
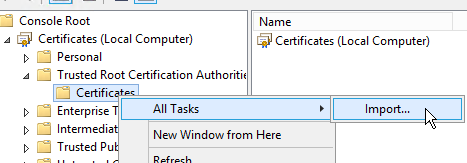
- Now expand Certificates (Local Computer), and expand Trusted Root Certification Authorities.
- On the Certificates folder under Trusted Root…, Right click, hover over All Tasks, and click Import.
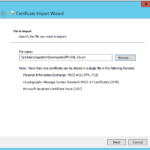
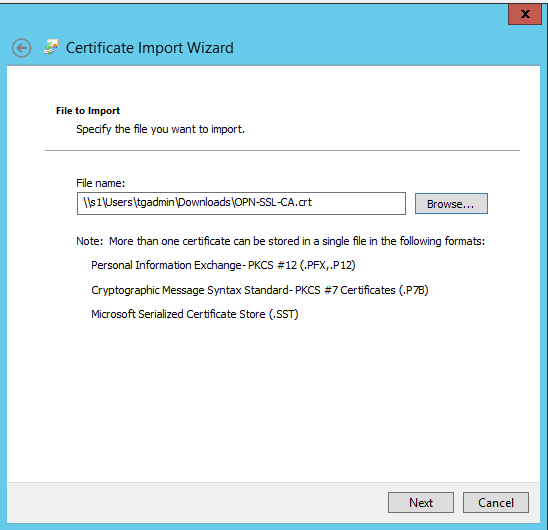
- Click Next
- Select the Cert file you downloaded and click Next.
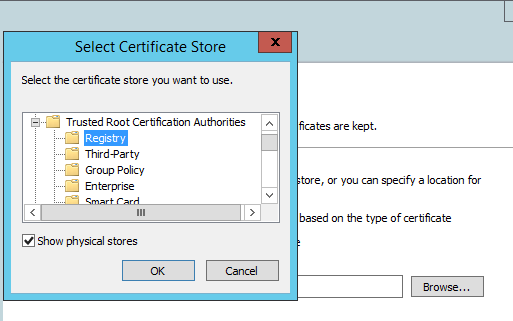
- Ensure Place all certificates in the following store is selected, and click Browse.
- Check Show physical stores.
- Expand Trusted Root Certification Authorities and click Registry.
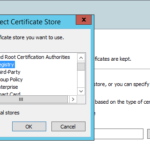
- Click Ok, then Click Next.
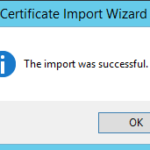
- Click Finish and Ok.

- In OPNsense, go to System->Trust->Authorities. Now Click the Export CA Cert button (hold your mouse over the button to view it) and save the Cert to your PC.
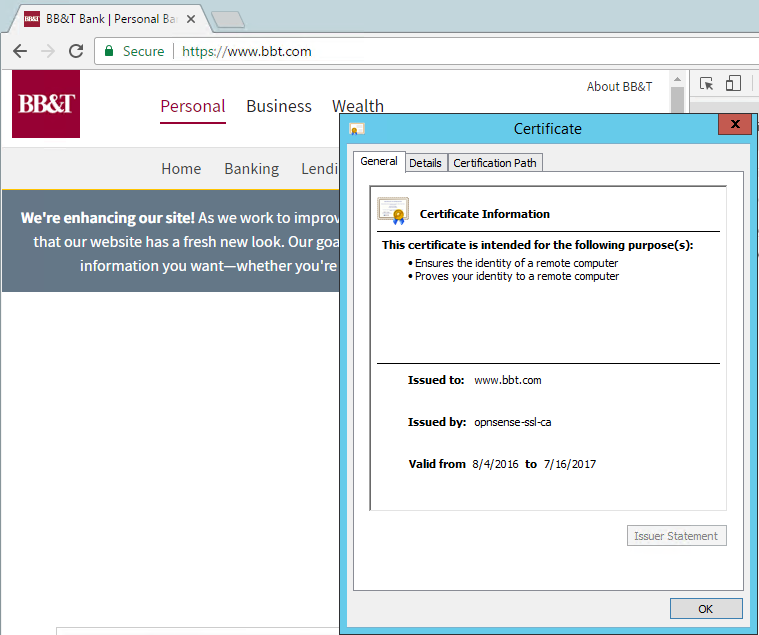
- Now test. You should no longer receive errors on SSL sites that are Not in the SSL no bump list.
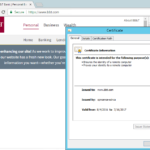
- Also, to verify your cert is being used, view the cert in the browser. You should see the Issued By field shows the name of the CA you created in OPNsense.

This completes Step 8