OPNsense – Transparent Caching Filtering Proxy with Virus Scanning – Step 4 OPNsense Antivirus Scanning
This is a pretty long guide, even before I added images, so it is broken it into sections. I hope it is easy to follow; if you find any errors, please Contact us!
Step 4 – Adding Antivirus Scanning
This is simply setting up the ICAP connection from OPNsense to the server we created earlier. Additional guide here, though limited helpfulness I thought.
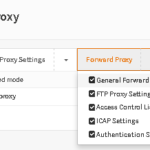
- In OPNsense, go to Services->Web Proxy->Administration, click the down arrow on Forward Proxy, and click I-cap Settings.
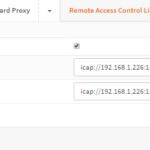
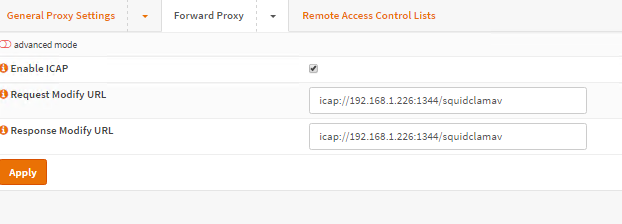
- Enter the below URL, edited with your IP address, in both fields; This should be the IP of the server we created above:
icap://<CentosServerIP>:1344/squidclamav
- Click Apply.
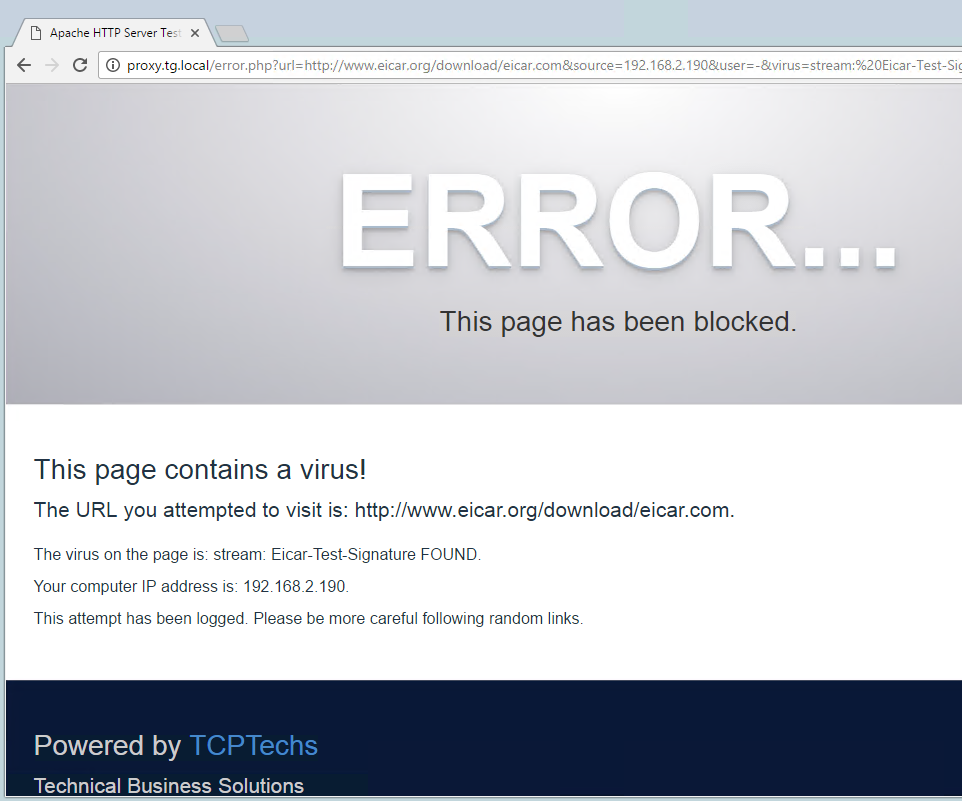
- On a PC setup to use the proxy, attempt to access this file:
http://www.eicar.org/download/eicar.com
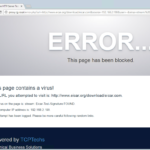
- You should be redirected to the Webpage you created at the end of Step 1. If you get an error about the page not being found or an error connecting to the page, try running these commands in the CentOS server, and also try clearing the browser’s cache:
echo -n “squidclamav:cfgreload” > /var/run/c-icap/c-icap.ctl
echo -n “reconfigure” > /var/run/c-icap/c-icap.ctl

This completes Step 4