OPNsense – Transparent Caching Filtering Proxy with Virus Scanning – Step 1 Prerequisites
This is a pretty long guide, even before I added images, so it is broken it into sections. I hope it is easy to follow; if you find any errors, please Contact us!
Step 1 – Prerequisites: Install CentOS, secure the SSH server, temporarily disable SElinux and firewall, Install Apache and PHP, and Setup the Antivirus Error Page
Please refer to this server guide for more information on these steps. That guide has many more procedures than you need for this, but it also covers some of the below in more detail.
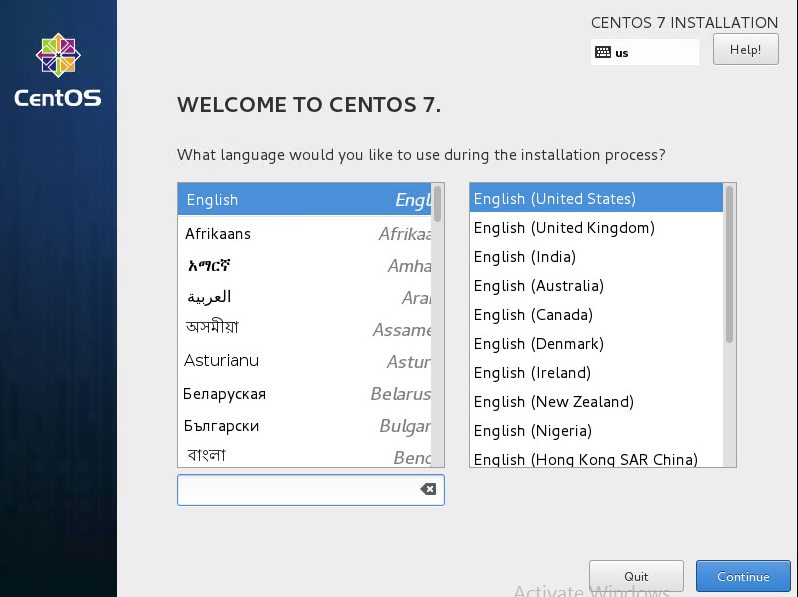
- Preform a base install of CentOS 7 x64
- Select your language.

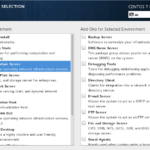
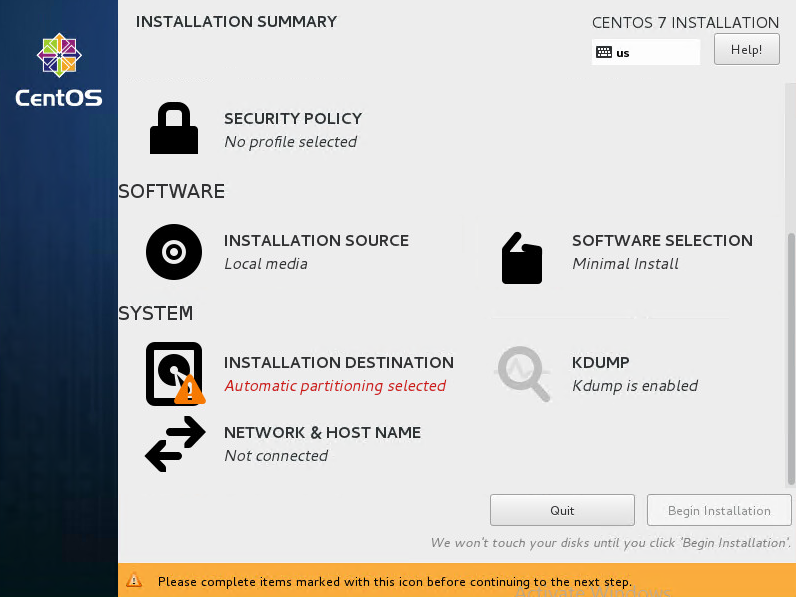
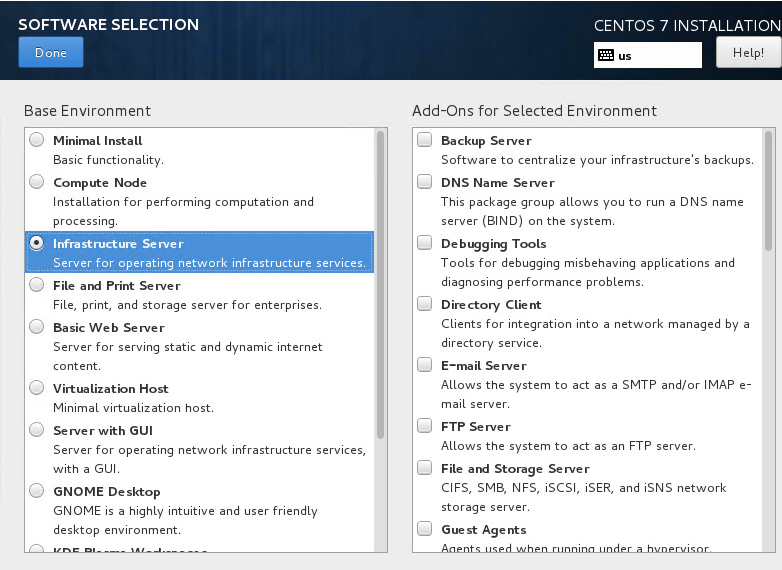
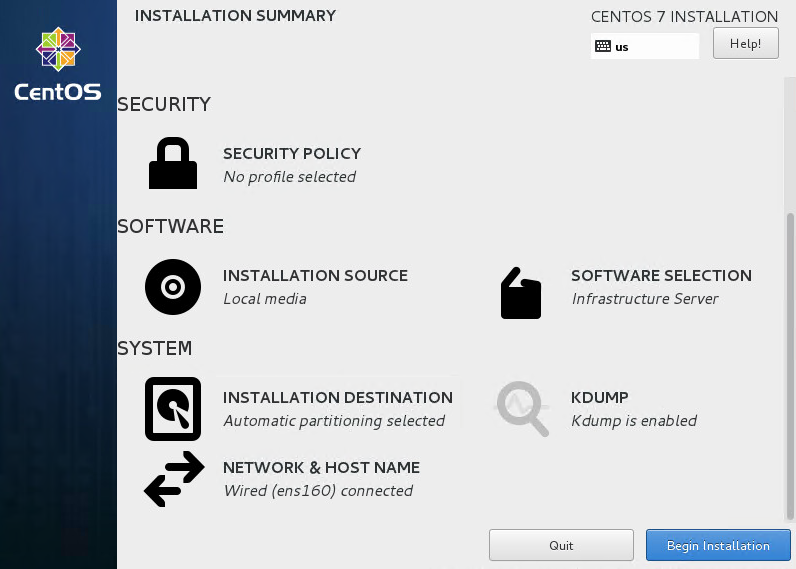
- “Software Selection”, select “Infrastructure Server” and click Done.
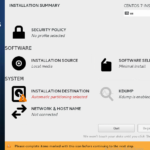
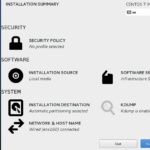
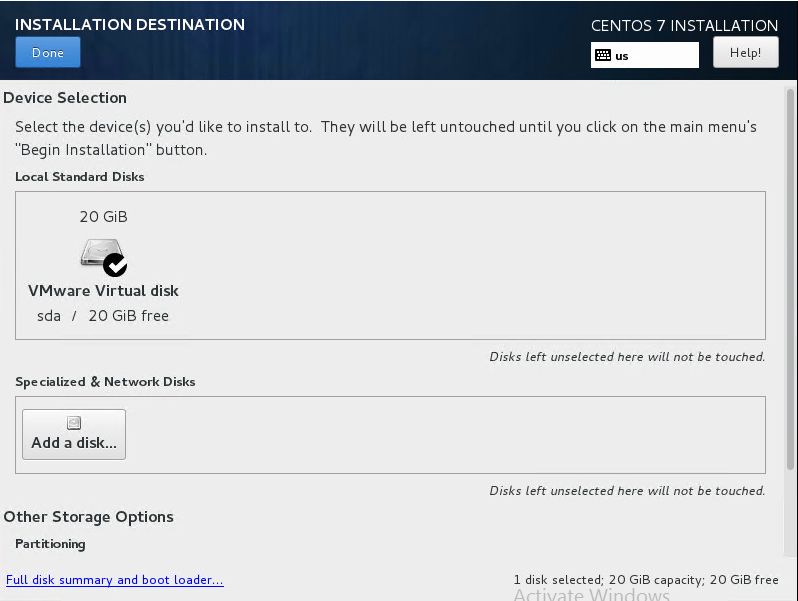
- Select “Installation Destination”, Select the disk partition, and click Done.

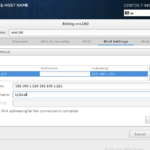
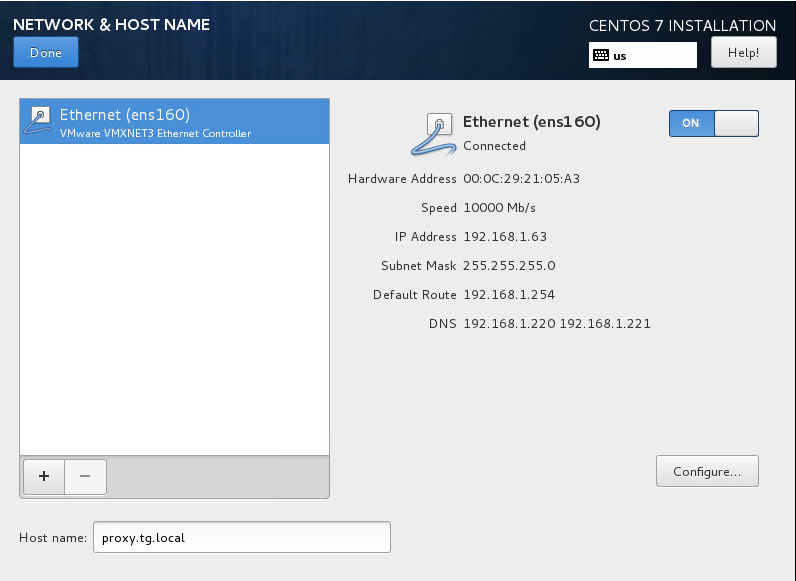
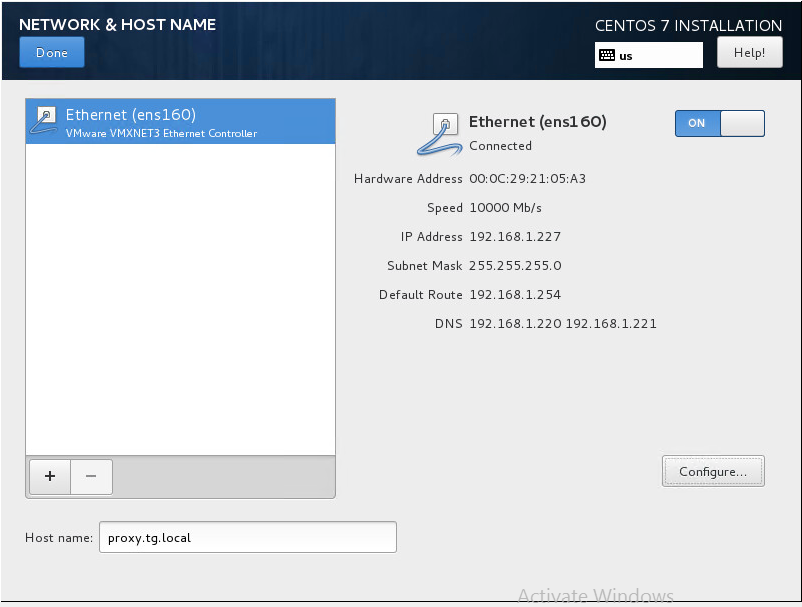
- Select Network & Hostname. Click the switch in the upper right to enable the adapter. Then click Configure.

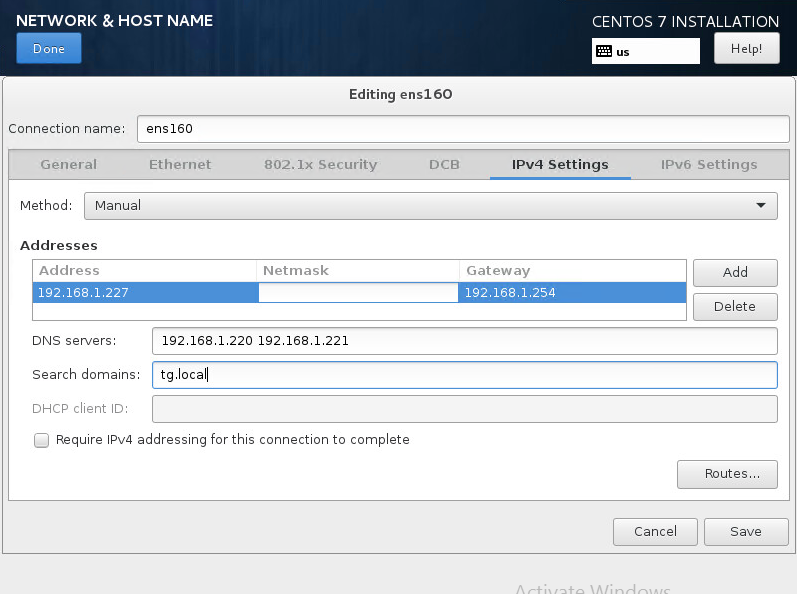
- Set a Static IP. Click Save. Then Click Done.

- Start the install.
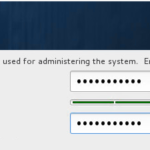
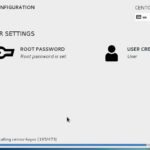
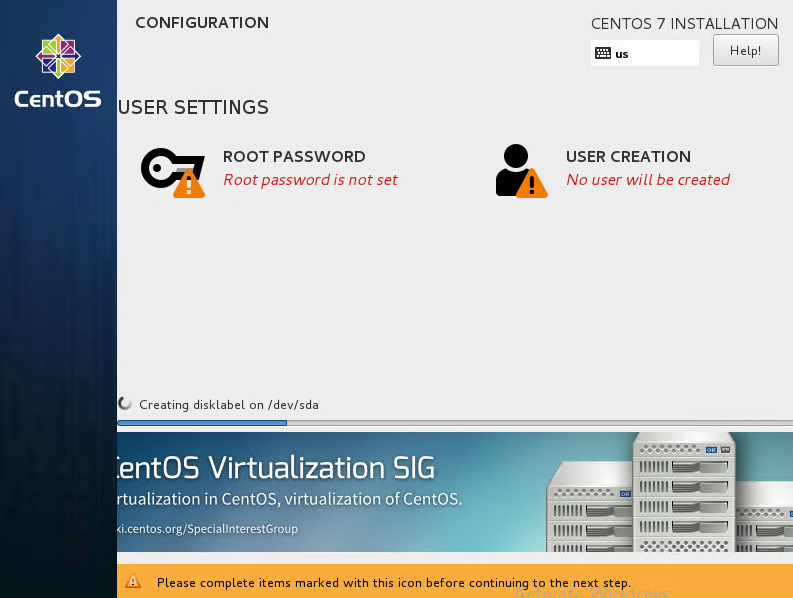
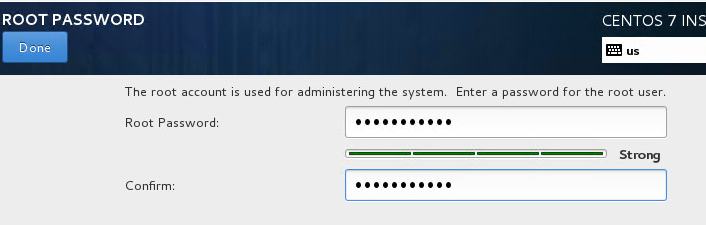
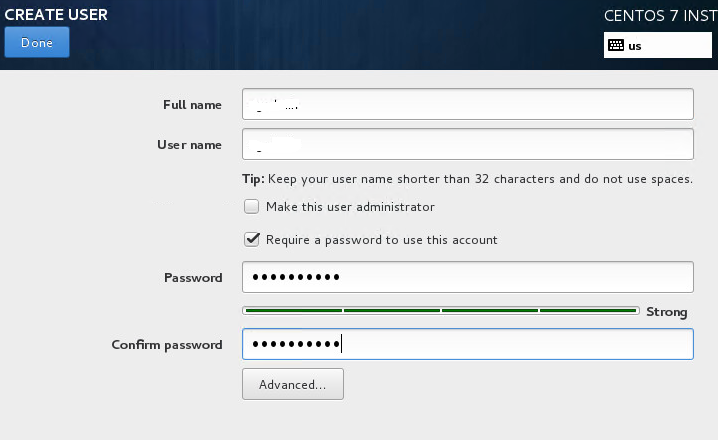
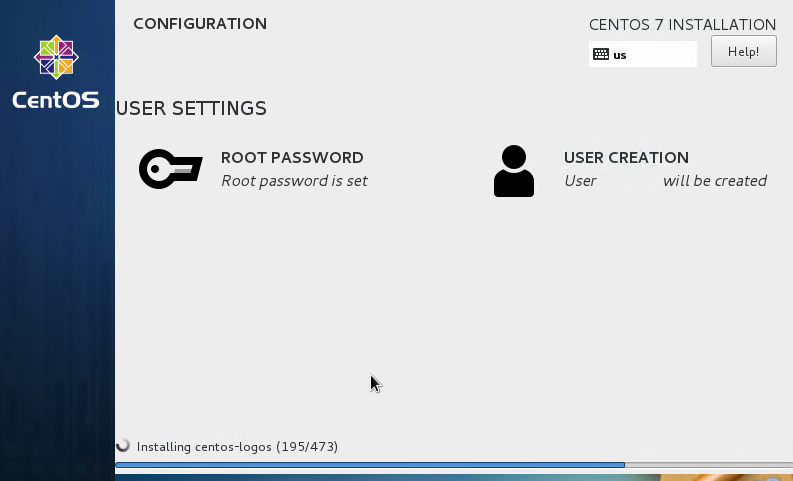
- Create your root password and click Done.
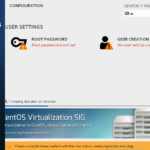
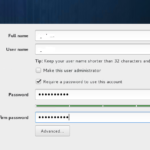
- Create a user login and click Done. Wait for the install to complete.
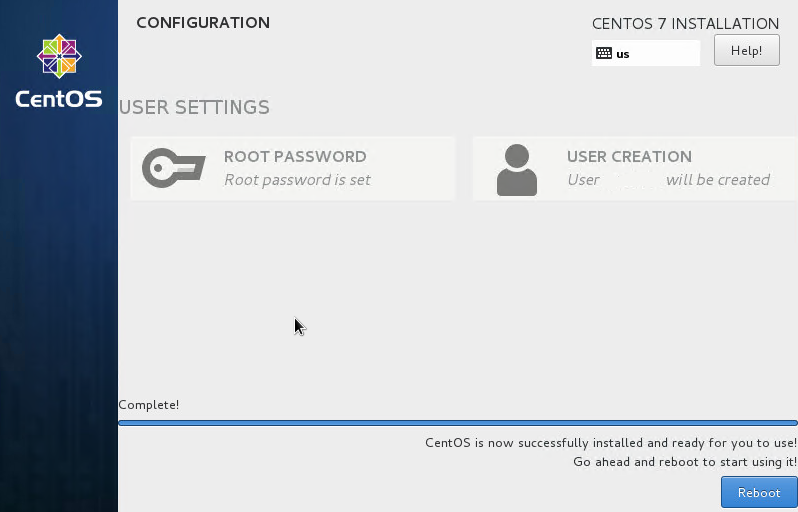
- Reboot and login after reboot.

- Select your language.
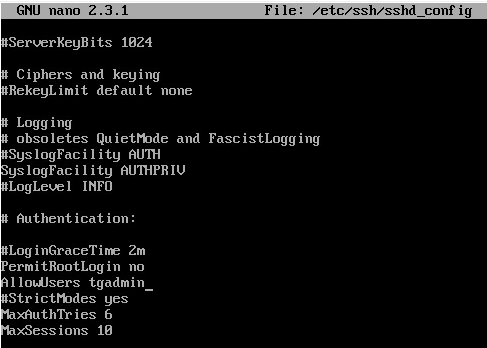
- For security, modify SSH server using the command below to modify the config for the items listed below:
nano /etc/ssh/sshd_config
- disable root login to SSH:
PermitRootLogin no
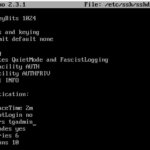
- Set Max Auth tries to a number less than 10, perhaps 6:
MaxAuthTries 6 - Set MaxSessions to a number, perhaps 10:
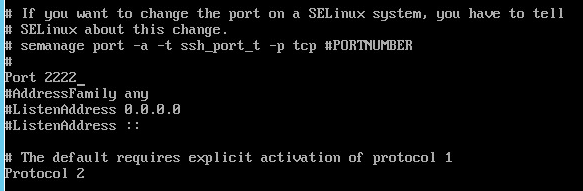
MaxSessions 10 - Set SSH protocol version to 2:
Protocol 2 - Set SSH port to something other than 22 (example 2222):
Port 2222
- Set AllowedUsers to the user you created (example user1 and user2):
AllowedUsers user1 user2 - Save and exit the sshd_config file
- Run the below command to restart the service and apply the new config:

systemctl restart sshd - Refer to this guide for more info.
- disable root login to SSH:
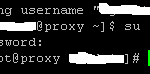
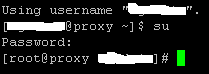
- SSH using the user login you created and allowed to SSH, and run su to become root.
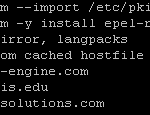
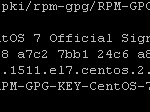
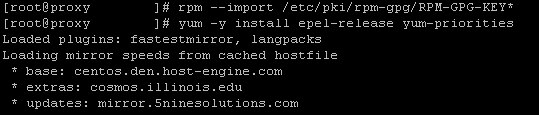
- Import the EPEL GPG Keys and Install from EPEL repro:
rpm –import /etc/pki/rpm-gpg/RPM-GPG-KEY*
yum -y install epel-release yum-priorities
- Edit the Epel repros using the command below and add the line “priority=10” to the [epel] section:
nano /etc/yum.repos.d/epel.repo

[epel]

name=Extra Packages for Enterprise Linux 7 - $basearch

#baseurl=http://download.fedoraproject.org/pub/epel/7/$basearch

mirrorlist=https://mirrors.fedoraproject.org/metalink?repo=epel-7&arch=$basearch

failovermethod=priority

enabled=1

priority=10

gpgcheck=1

[...] - Save and close the epel.repo file.
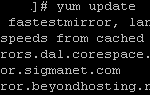
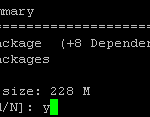
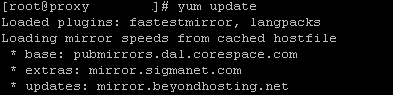
- Update CentOS 7:
yum -y update
- Install Software for building:
yum -y groupinstall ‘Development Tools’ - For testing, lets disable the firewall. You can re-enable it once you get the proxy working:
systemctl stop firewalld.service
systemctl disable firewalld.service - For testing, lets also disable SELinux. Again, you can re-enable it once you get the proxy working:
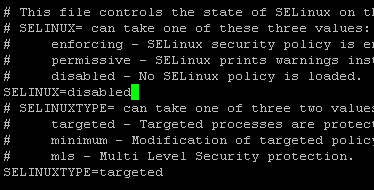
nano /etc/selinux/config
Change “SELINUX=enforcing” <TO> “SELINUX=disabled”
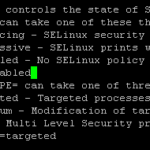
- Save and exit the file.
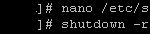
- Reboot:
shutdown -r now
- Install Apache and PHP stack for the Error page. You can skip this step if you will use a different web server for the Error page:
yum -y install ntp httpd mod_ssl php - Add the apache header rule at the end of the httpd.conf file to prevent HTTPOXY vulnerability:
echo “RequestHeader unset Proxy early” >> /etc/httpd/conf/httpd.conf - Restart the httpd service:
service httpd restart - Set httpd to start at boot:
systemctl enable httpd - Create your Error page for Antivirus from the default index page and modify it:
cp /usr/share/httpd/noindex/index.html /var/www/html/error.php
nano /var/www/html/error.php
Replace the <body> to </body> section with this:
<body>
<?php
function clean($str){
return htmlentities($str, ENT_QUOTES | ENT_HTML5, 'UTF-8');
}
function getIP(){
$ip = htmlspecialchars($_GET["source"]);
if(filter_var($ip, FILTER_VALIDATE_IP) === false) { $ip=""; }
return $ip;
}
function getURL(){
$url = htmlspecialchars($_GET["url"]);
if(filter_var($url, FILTER_VALIDATE_URL) === false) { $url=""; }
return $url;
}
function getTxt(){
return clean($_GET["virus"]);
}
?>
<div class="jumbotron text-center"><div class="container">
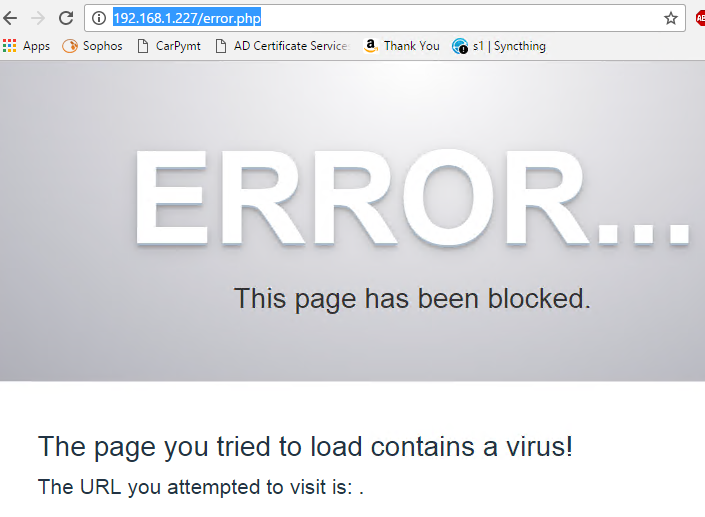
<h1>ERROR... </h1>
<p class="lead">This page has been blocked.</p></div></div>
<div class="main"><div class="container"><div class="row"><div class="">
<h2>The page you tried to load contains a virus!</h2>
<p class="lead">The URL you attempted to visit is: <?php echo getURL(); ?>.</p>
<p>The virus on the page is: <?php echo getTxt(); ?>.</p>
<p>Your computer IP address is: <?php echo getIP(); ?>.</p>
<p>This attempt has been logged. Please be more careful following random links.</p>
</div></div></div></div>
<div class="footer"><div class="container"><div class="row"><div class="">
<h2>Powered by <a href="http://www.TCPTechs.com">TCPTechs</a></h2>
<p class="lead">Technical Business Solutions </p>
<p></p></div></div></div></div></div>
</body> - Save and Exit the file.
- Visit the URL to verify the page works: http://IPAddressofServer/error.php


This completes the Prerequisites.